Omniflex® lux
system description
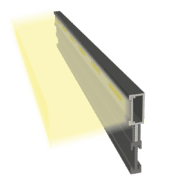
Aluminium profile for path and paving edging with LED strips
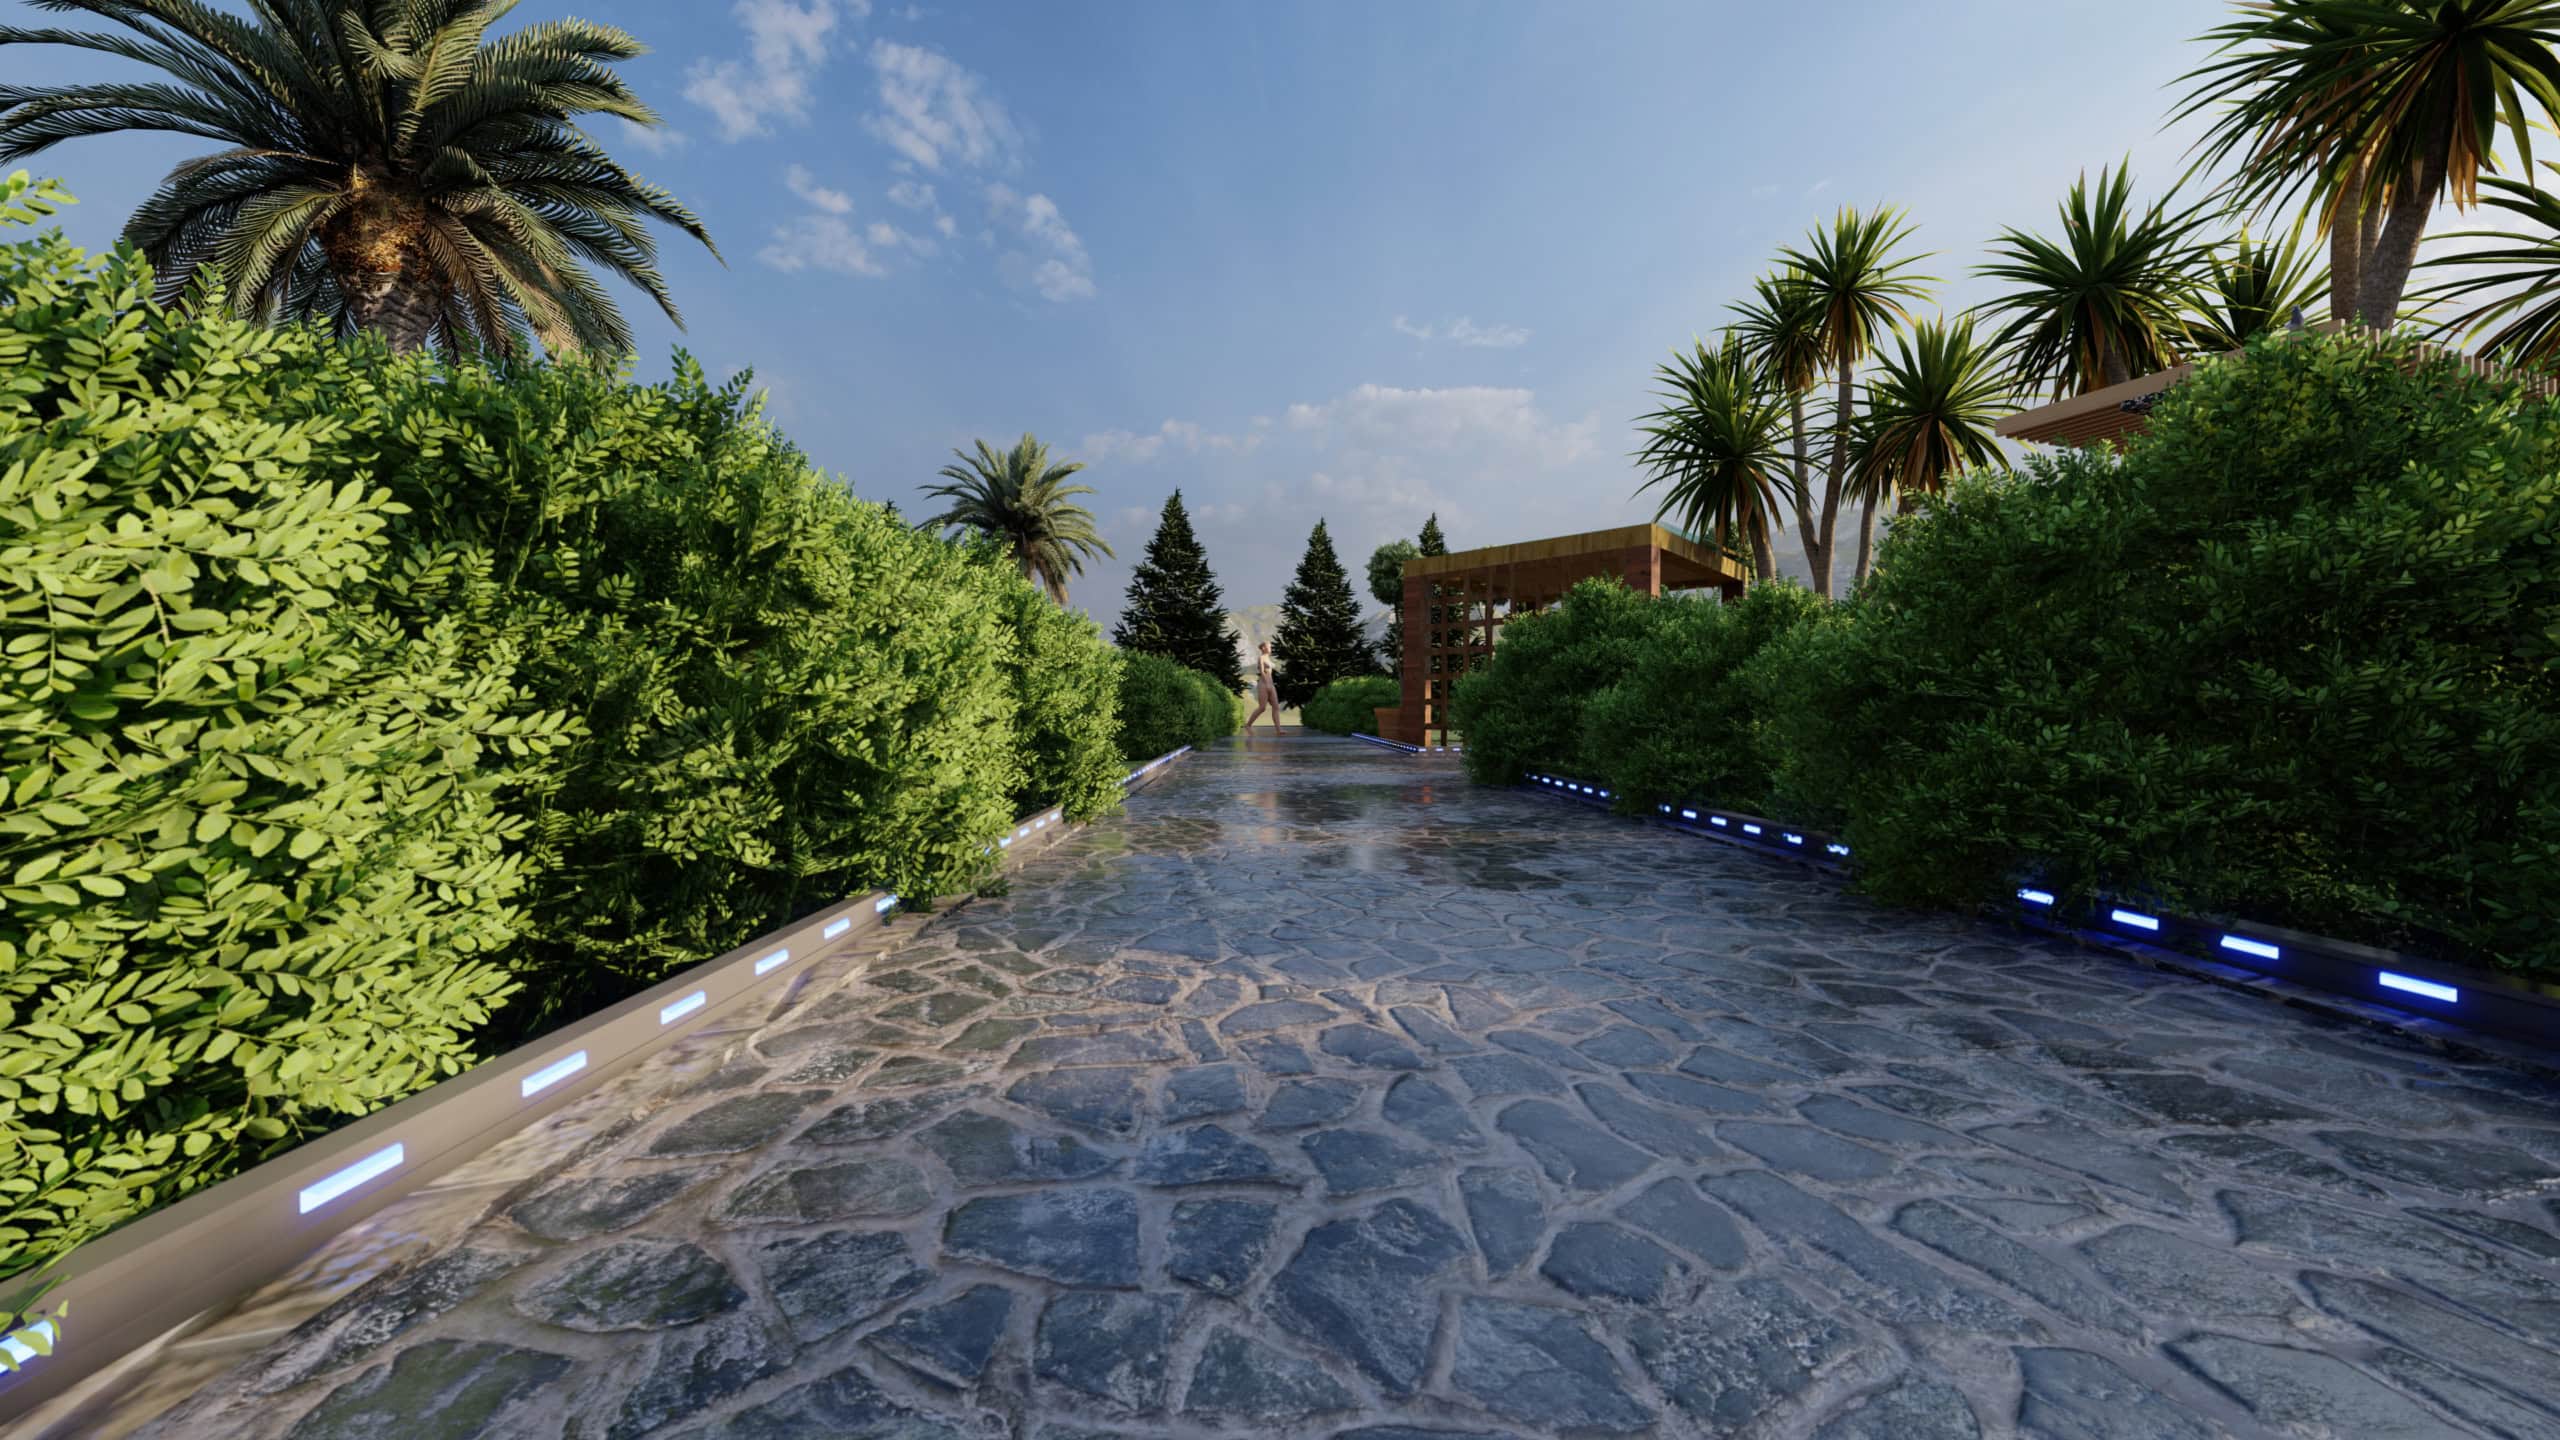
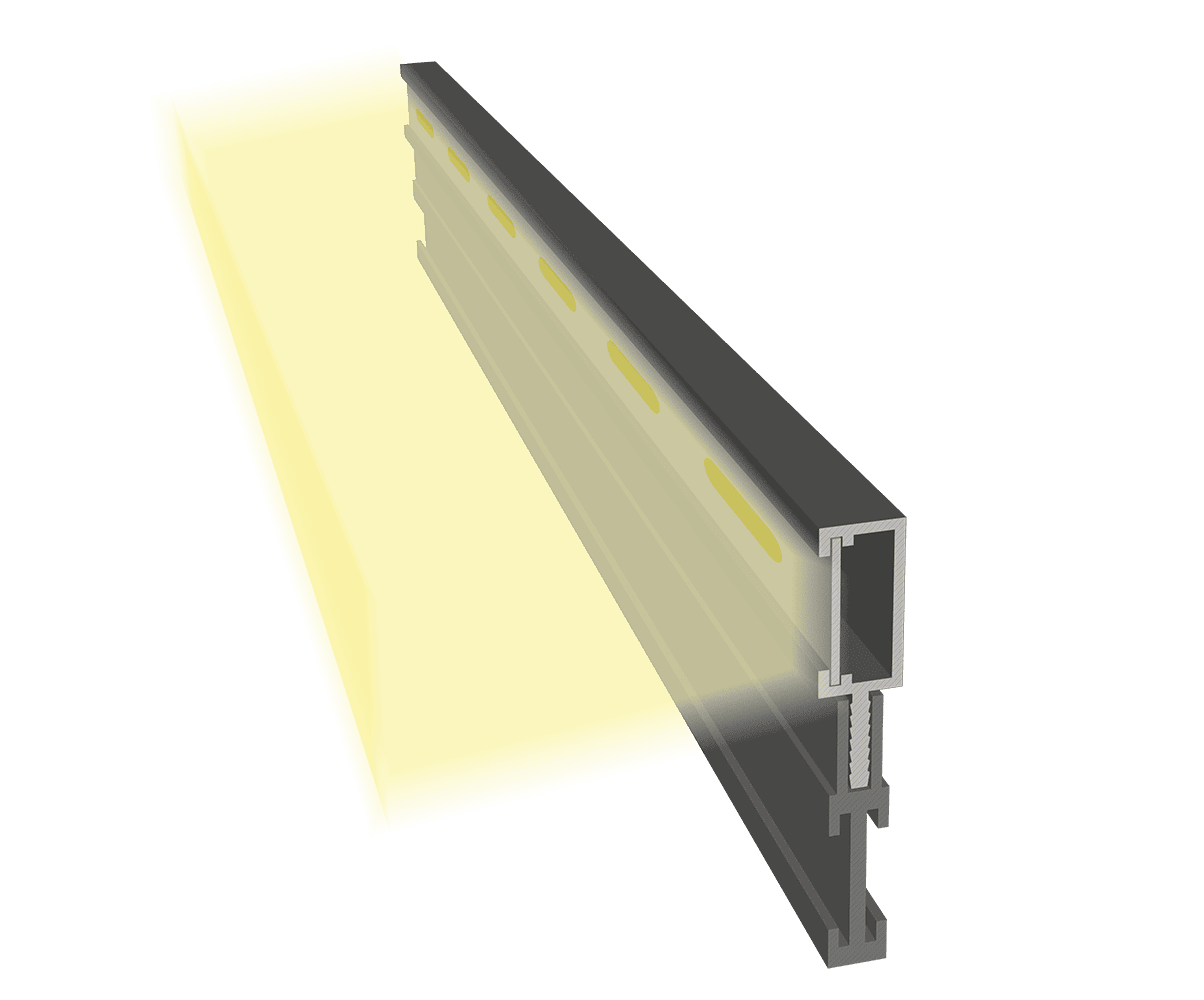
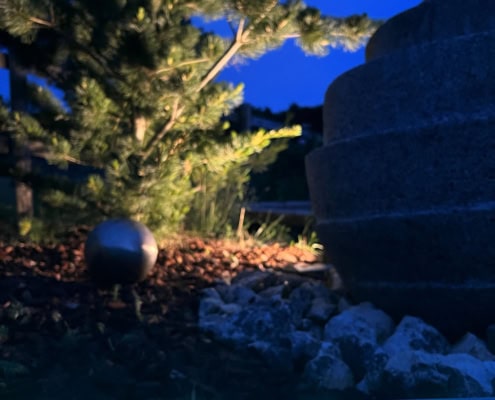
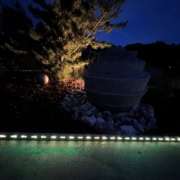
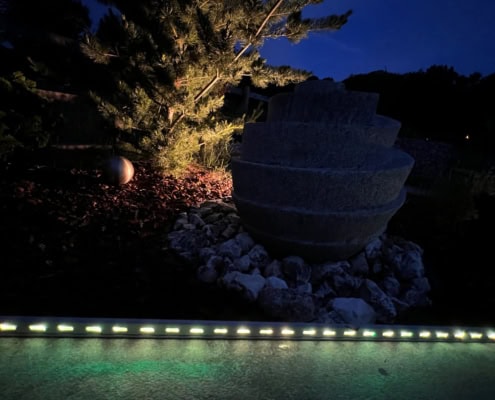
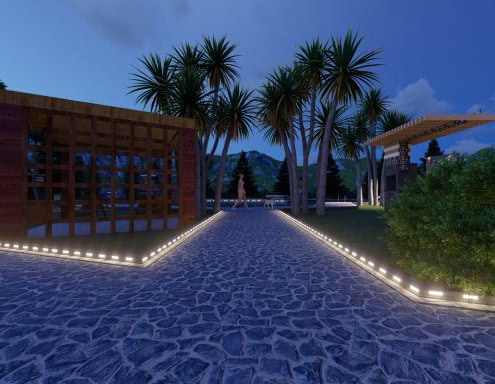
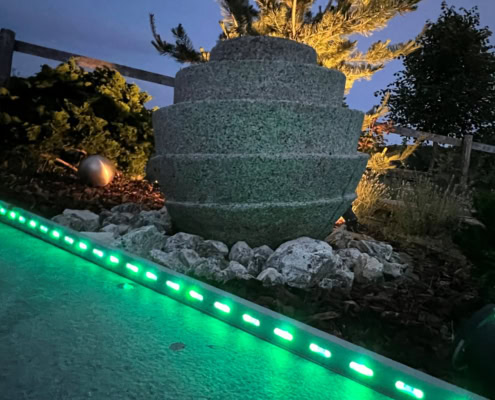
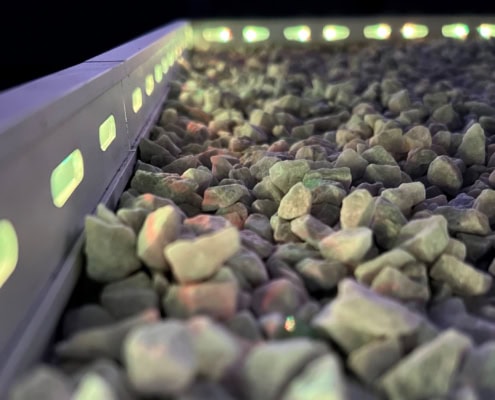
Omniflex® lux provides for a unique way to illuminate pathways, courtyards and seating areas in a tasteful, glare-free and customised way.
The Omniflex profile was conceived to meet the highest requirements in terms of design, quality and sturdiness.
It gives patio and walkway slabs, flagstones, grit, split and asphalt areas the support they need. In addition, it is very helpful for designing and building outdoor and indoor facilities.
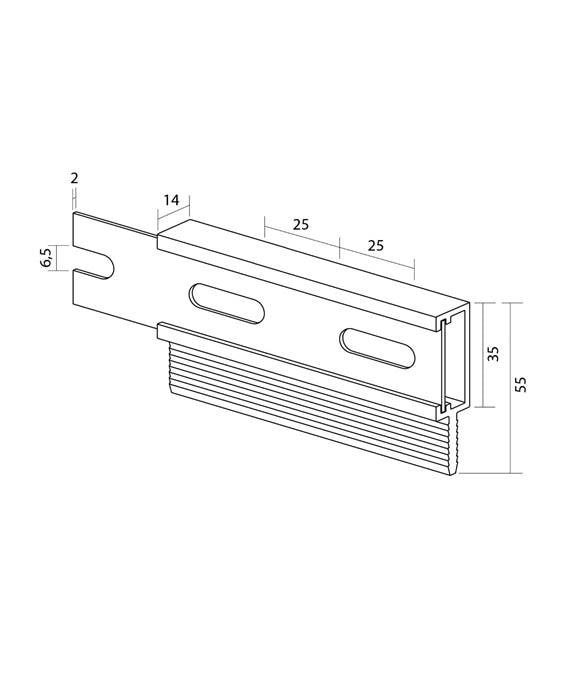
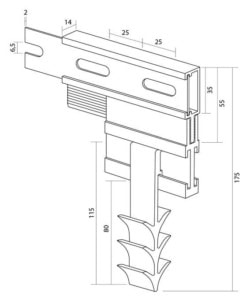
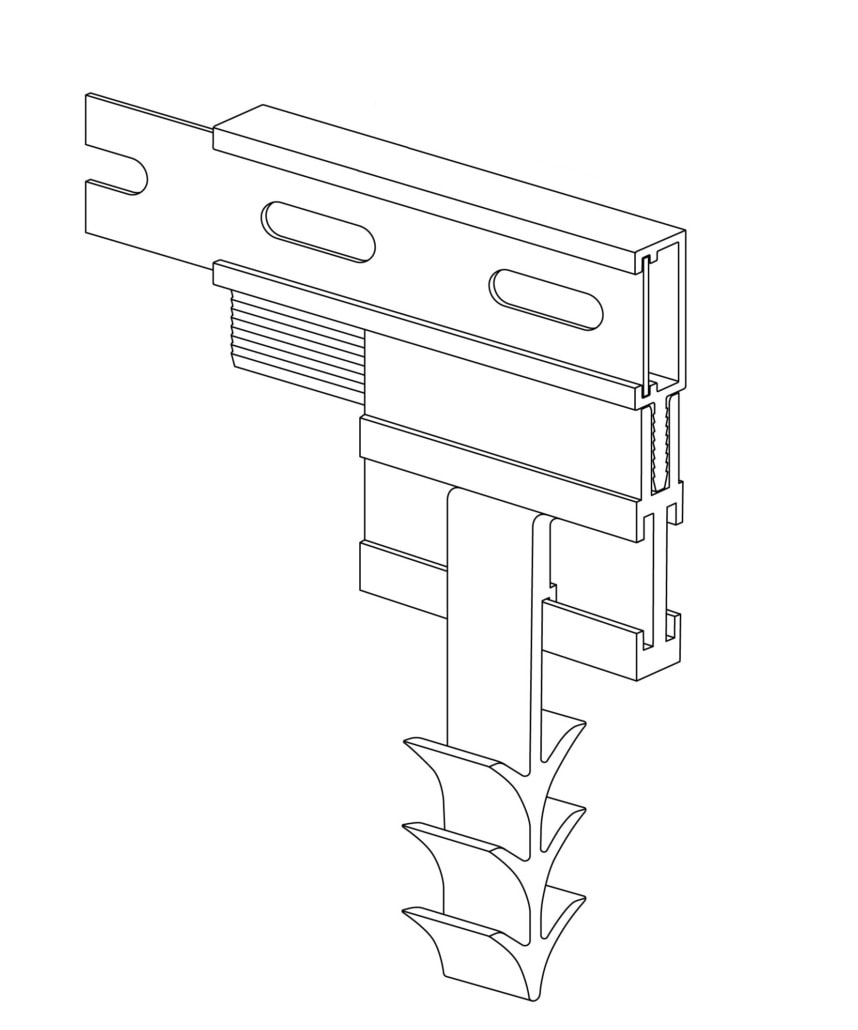
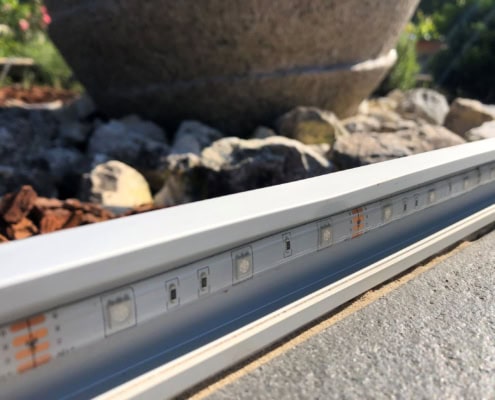
The basic profile that is made of aluminium alloy is pre-fitted with a silver-anodised (E6/EV1) lighting rail and is delivered with a silver-anodised (E6/EV1) front-mounted slide-in lighting profile with 25 mm long and 6.5 mm tall light slits.
The lighting profile is ready for an LED lighting strip (IP65) to be inserted by a qualified electrician on site.
Since aluminium features good thermal conductivity, the exhaust heat produced by Omniflex® lux is transferred to its surroundings very effectively.
Your benefits at a glance:
- Protected, weather-resistant edging
- Aesthetic, durable edging
- Base profile for various types of clamp rails and anchoring options
- Adjustable 90° profile anchors and concrete/earth anchors
- Easy transport and straightforward installation
- Corrosion-resistant, recyclable aluminium alloy
- Good exhaust heat transport
installation instructions Omniflex® lux
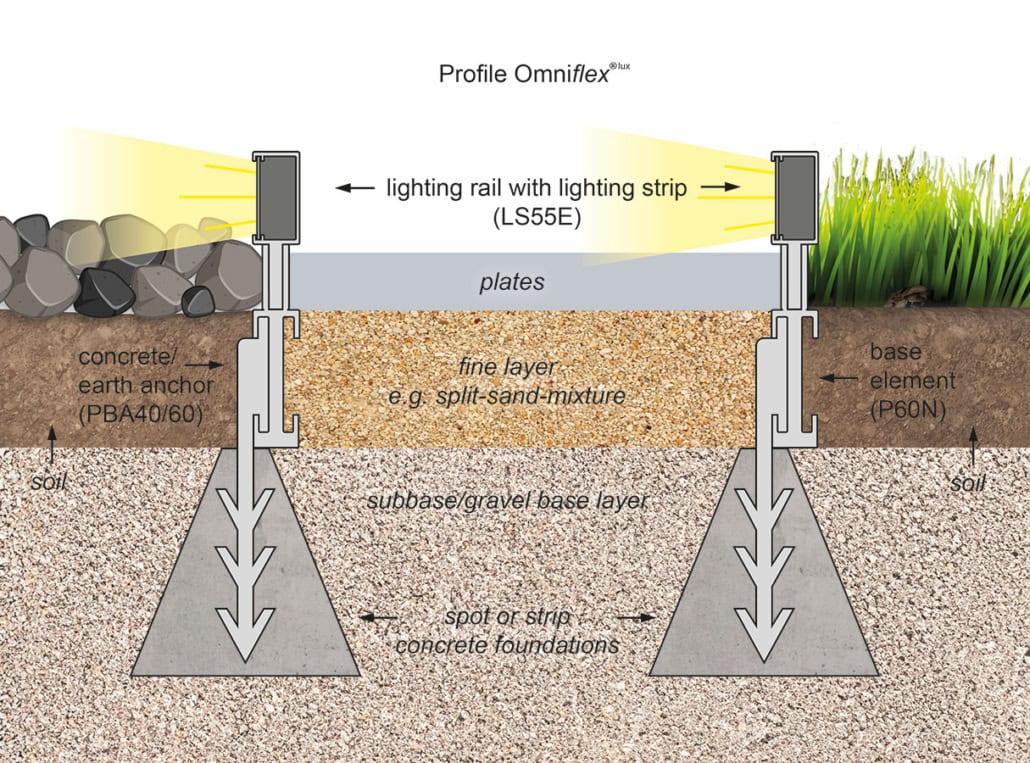
The profiles (base elements and lighting rails including the lighting strip) are usually installed in such a way that about one third protrudes above the surface that is to be created. The desired light distribution should be taken into account here. The lighting rails and base elements are pre-installed in production.
In order to achieve a satisfactory result, the entire installation should be carried out in a careful, precise manner.
installation instructions Omniflex® lux with concrete/ground anchors
Method A
The special profile shape allows for the number and position of the concrete and ground anchors to be adjusted to the relevant building project and the surface being built on.
Depending on the surface and shape, at least 3 anchors should be used per running metre. The concrete or ground anchors are pushed into the guide rail of the profile. An offset arrangement on the inside and outside of the base element is generally possible, however, this depends on the individual edge design. The anchors inserted into the base elements are pressed into the cement, as far as the marking bulge, while it is setting and still soft. After that they must be aligned horizontally. It is also possible to secure the base element in place and then embed it in concrete.
Method B
The concrete/ground anchors (PBA40/60) can be installed after vibration of the base layer, before the installation of the base layer or, if applicable, before the vibration of the (paved) surface. When using this method, bear in mind that the vibration can cause the base layer/surface to sink.
A recess approx. 10 cm deep and 10 cm wide (a fist-sized hole) is created in the base layer at the points where the anchors are pre-installed in the base elements. A large chisel may work well for this. The pre-installed base elements are then adjusted so that the anchors are positioned in the base layer. The anchors are then embedded with a concrete-cement mixture.
If the profile is to be laid on a surface which has already been paved/tiled, it is best to insert the concrete/ground anchors on one side and not offset.
The next step is to add the fine layer and install the base layer or surface. If vibration is necessary, take care not to damage the lighting rails.
Installation of Omniflex® lux with 90° profile anchors
The profile anchors (PVA40/60) are inserted laterally into the guide rails of the profile. Depending on the surface and shape, at least 5 anchors should be used per running metre. The profile, including the profile anchors, is then laid on the flat, horizontal surface – the lower base layer – according to the construction plan in terms of shape and length.
Depending on the application and the surface, the profile anchors can also be arranged offset on both sides. Installation is carried out with steel pegs (EN18/23) in the base layer, with screws and dowels in the concrete foundations or with special glue (one or two-component glue from a specialist store or WFB310) on smooth, solid, dust-free substructures.
Connecting the elements/lighting rails
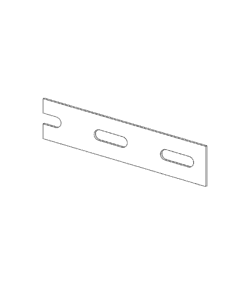
The individual profiles are connected in the lower area of the profiles, using the selected anchors. 60 mm wide anchors ending in …60 (PBA60/PVA60) are recommended.
To prevent that light escapes at the seams, a thin joint/glue bead of dark (black/grey) one or two-component glue should be created on the inside. The glue used should be elastic or slightly elastic. This component glue should also be suitable for high temperatures, as the aluminium profiles can heat up to reach temperatures well above 50°C in summer.
Please make sure that the glue does not escape to the outside through the joints! The glue is then smoothened slightly from the inside, to make sure that the LED strip can run over the glue seam smoothly, once the glue has hardened. The joint/glue bead should protrude slightly, by just a few millimetres, and be about 1 cm wide.
Another option is to use suitable adhesive tape, a 2 to 3 cm wide piece of which is stuck over the gap from the inside.
Temperature changes cause the aluminium to expand and contract. This means that the joints change and the width of the gaps varies.
To be able to glue in the LED strip, the lighting strip must be pushed out of the guide duct sideways. Please make sure that neither the lighting rail nor the lighting strip is deformed. The LED strips are attached to the clean and dry aluminium profile (lighting rail), facing the lighting strip.
The lighting strip is then pushed back into the guide duct from the side. The integrated grub screws can be fastened from the back to hold the lighting strip in place (optional).
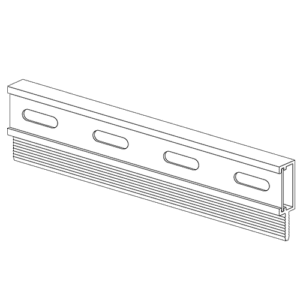
Lighting rail with lighting strip
Silver-anodised aluminium
25 mm punched holes, 20 per metre
- L = 1.250 mm, H = 35 mm | LS55E12s
- L = 2.500 mm, H = 35 mm | LS55E25s
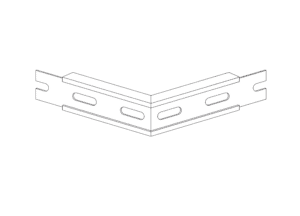
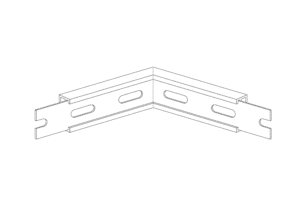
Lighting rail outside corner with lighting strip
Silver-anodised aluminium
- 90° outside corner, 250 + 250 mm | EV55E90s
Lighting rail inside corner with lighting strip
Silver-anodised aluminium
- 270° inside corner, 250 + 250 mm | EV55E270s
Lighting strip without base profile
Silver-anodised aluminium
with 25 mm punched holes, 20 per metre
- L = 1.250 mm, H = 35 mm | LL30E12s
- L = 2.500 mm, H = 35 mm| LL30E25s

